Help / FAQ
How do I claim my free Viewpoint?
To welcome our new users, we give everyone who signs up a free Viewpoint! After you select a Viewpoint and put it into your cart, you will be asked if you want to use any Freebies during the check out process.
Why do I need to enter an email address?
Stand Here™ uses email addresses as unique usernames, so each user must enter a valid email address.
What's a Promo Code?
Stand Here's partners can refer people to our website with unique Promo Codes. By using a Promo Code, you gain access to special offers like free Viewpoints! You don't need one to sign up.

How do I get a Promo Code?
You can get a Promo Code for Stand Here in a variety of ways. One might be included in an advertisement for Stand Here, or along with one of our partner's products.
What's a Freebie?
A Freebie is a free Viewpoint you may get from entering a Promo Code.
How do I use my Freebies?
After you select a Viewpoint and put it into your cart, you will be asked if you want to use any Freebies during the check out process.
How do I enter a Promo Code after I've already signed up?
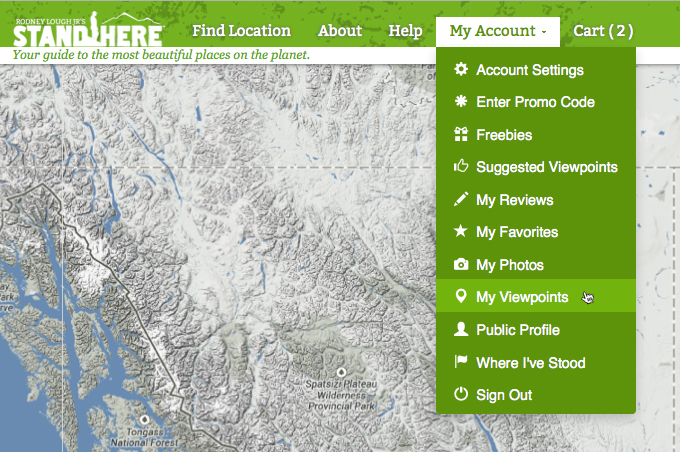
Click on your account name in the top navigation. Select “Enter Promo Code” from the drop down menu. Enter the promo code in the promo code field.
What is a Viewpoint?
A Viewpoint is one of the most beautiful places on the planet; the exact location that Rodney was standing when he took one of his stunning photographs. When you purchase a Viewpoint, you get all the information you need to reach it, including a detailed map, the best time and season to visit, fun facts and much more.
What are Parks?
Parks are groupings of Viewpoints. Many are National Parks and National Forests. However, some include places you wouldn't expect, like the heart of the San Francisco Bay Area. These are "Other Beautiful Places" (see below)

What are "Other Beautiful Places?"
These are Parks that contain Viewpoints that aren't grouped in a National Park, Forest or Seashore, and are often widely spaced apart.
How do I search for a particular place?
If you know the name of the Park or Viewpoint you're looking for, you can type it into the search bar in the top right of the screen underneath your name. This search will also return results when the search term matches the Viewpoint's story and field notes, as well as its country and state.
How do I find locations in particular states or provinces?
The map starts by displaying all the Parks in the United States. Click "United States" to turn those Parks off, then click the "State/Province" tab and start clicking on individual state and province names to show the Parks within the states and provinces selected. You can also use the map's zoom function to see the parks within a particular state or region.
How do I find locations in particular Parks?
The map starts by displaying all the Parks in the United States. Click "United States" to turn those Parks off, then click the "Parks" tab and start clicking on individual Park names to show them on the map.
How do I filter locations?
Once you've chosen the Parks you want to look at, you can select a filter to limit your results to show only Parks that include Viewpoints that match the filter. For example, selecting the filter "Kid Friendly" will remove any Parks from the map that don't have any kid friendly Viewpoints.
How do I view a particular Viewpoint?
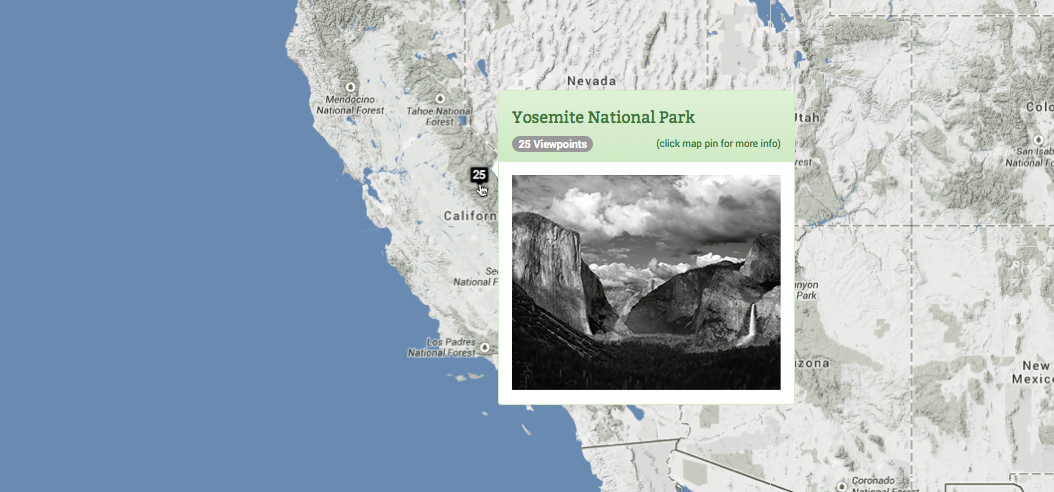
When you choose a Park, you are shown images of the Viewpoints contained within that Park. Use the arrows to the right of the Park name to navigate between different Viewpoints. When you see one you're interested in, click "Stand Here" to see more information about that Viewpoint.
I bought a Viewpoint. Where can I access it?
To see the Viewpoint(s) you have purchase, click on your account name and select “My Viewpoints” in the drop down menu. You can also access them here.

How do I change the information that displays in my profile?
Click on your account name and select “Account Settings”. You can make changes to your profile here. You can also access “Account Settings” when you select “Public Profile” from your account drop down menu. You can access this page here.
How do I change who can see what's in my profile?
Click on your account name and select “Account Settings”. You can make changes to your profile here including who can see it. You can also access “Account Settings” when you select “Public Profile” from your account drop down menu. You can access this page here.
How can I upload photos?
Click on your account name and select “My Viewpoints” from the drop down menu. Select the viewpoint you would like to add a photo to. Under the “Member Photos” section of the Viewpoint, select “Add Photo” or “Take the First” (if you are the first person to add a photo). You will then have an option to upload an image from your computer. Acceptable image formats are JPG, PNG and GIF.
How do I buy a particular Viewpoint?
Select a Viewpoint you want to purchase from the "Find Location" page. Once you have selected the Viewpoint you can add it to your shopping cart by clicking on the shopping cart icon.
After I have purchased a Viewpoint, how do I access it?
Click on your account name in the top navigation bar. Select “My Viewpoints” from the drop down menu. You can also access this page directly by going here. On the My Viewpoints page, you will see a list of Viewpoints you have purchased.
How do I find out what's in my cart?
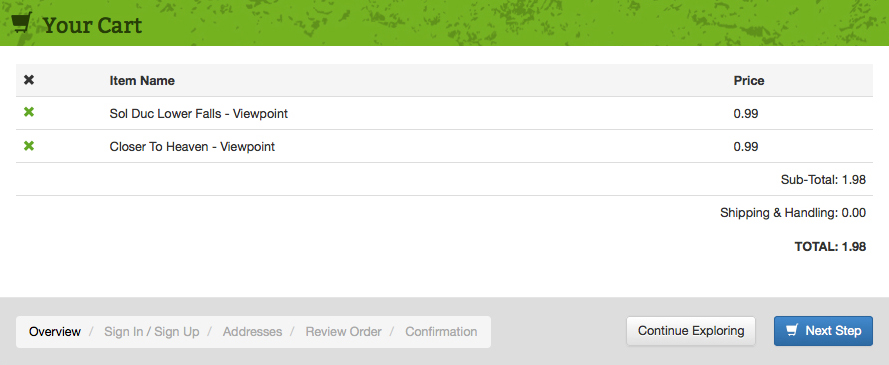
Click on the “Cart” link in the top navigation. The contents of your cart will be displayed.

How do I get to checkout?
Click on the “Cart” link in the top navigation to open your cart. Start the checkout process by clicking on “Next Step”.